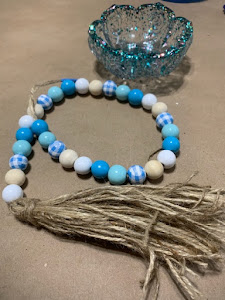
Have you wanted to have your own bead garland but were afraid to try and make one? Well, here is a simple how–to instruction to show you how you can do just that
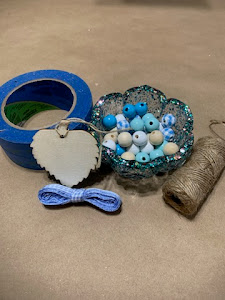
This is what you will need to make your garland: 1–Beads 30 size 12mm 2–Twine from the Dollar Tree 3–Ribbon ¼’’ 4–Tape 5–3’’ wood cut out from the Dollar Tree 6–Paint (white) 7–Paint brush
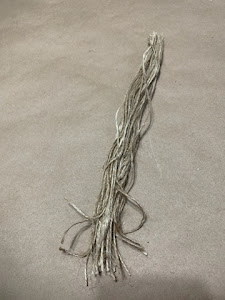
To start you will need to cut some of the twine into 47 12’’ long pieces.
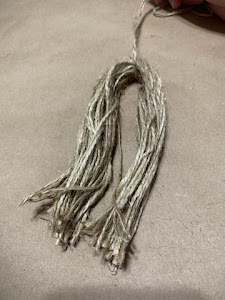
Thentake the 47 pieces and gather them together. Then set aside the pieces.
Then you will need to cut you a 42’’long piece. Only one of these. This is what you will use to put the beads on.
You will take the 42’’ long piece of twine and fold in half. Take and place the 47 pieces of twine and put in the middle of the long piece.
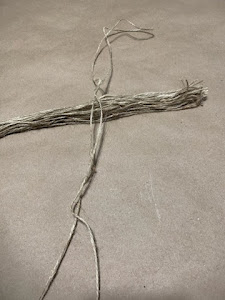
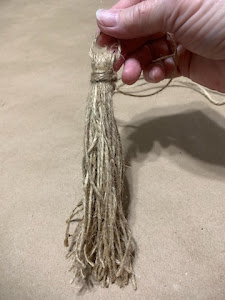
Take and cut one more 12’’ piece. This will be used to wrap around the other 12’’ pieces to form the tassel.
Take that extra piece of twine and wrap it around and around the tassel. (seepicture)
Then you will tie it off with the other end of the twine. That is your tassel.
Then take a piece of tape and with the long twine both ends together, wrap the tape around them. This will keep the twine stiff so that you can thread the beads on to the twine.
Now just start placing your beads on the string.
Make sure that you push the beads all the way to the end. You do not want the beads to be snug. If they are they will not bend very well.
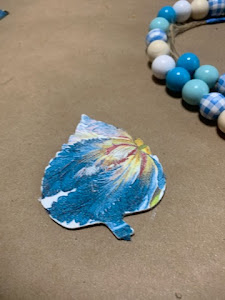
The wood cut out I took and painted white. I then added mod podge, then added a napkin to both sides of the cut out.
Now I was ready to take the tape off the end of the twine and place my wooden cut to the end. There was a hole in the cut out so I took and tied it to the end with the excess twine. I did a double knot to secure.
Once all that was done, I added that cute little bow and WOW! Now let us see if you can make one and let me know how you do.